Installing a mailbox post is a simple yet satisfying DIY project that can significantly enhance your home's curb appeal. Whether you're replacing an old mailbox or setting up a new one, following these steps will ensure your mailbox is sturdy, secure, and aesthetically pleasing. Here’s how to get started on transforming your front yard with a new mailbox post!
Step 1: Gather Your Materials and Tools
Before you begin, make sure you have all the necessary materials and tools. This includes:
A mailbox
Quick-drying concrete
Gravel
A post hole digger or shovel
A measuring tape
A drill and screws
A spirit level
Protective gloves and eyewear
Having everything on hand will make the process smoother and quicker.
Step 2: Choose the Right Location
Selecting the right spot for your mailbox is crucial. According to USPS guidelines, your mailbox should be easily accessible for the mail carrier and ideally located 6 to 8 inches back from the curb. Contact your local utility companies for a check to ensure there are no underground utilities where you plan to dig.
Step 3: Dig the Post Hole
Using a post hole digger or shovel, dig a hole at your chosen location. The hole should be about 24 inches deep and 10 inches in diameter. This depth ensures the post will be stable and secure. If you live in an area with severe winters, dig below the frost line to prevent shifting during freeze-thaw cycles.
Step 4: Add Gravel for Drainage
Pour about 6 inches of gravel into the bottom of the hole. This layer helps with drainage and prevents water from accumulating around the base of the post, which can cause it to rot or rust over time.
Step 5: Position the Post
Place the mailbox post into the hole, ensuring it stands straight. Use a spirit level, or bubble level, to check that the post is vertical and level on all sides. Adjust as necessary until the post is perfectly level.
Step 6: Secure the Post with Concrete
Mix the quick-drying concrete according to the instructions on the package. Pour the mixed concrete into the hole around the post, filling it to about 2 inches below ground level. Tap the sides of the post gently to remove any air bubbles and ensure the concrete settles evenly.
Allow the concrete to set for at least 24 hours before proceeding to the next step. This waiting period ensures the post is firmly anchored in place.
Step 7: Attach the Mailbox
Once the concrete has set and the post is secure, it's time to attach the mailbox. Most mailbox posts come with pre-drilled holes for easy installation. Align the mailbox with these holes and use a drill and screws to secure it to the post.
Ensure the mailbox is positioned at the correct height according to USPS guidelines, which is typically between 41 and 45 inches from the ground to the bottom of the mailbox. Double-check that the mailbox door opens freely without any obstruction.
Step 8: Add Finishing Touches
With the mailbox securely in place, you can add some finishing touches to enhance the appearance of your new installation. Consider adding decorative elements like a house number plaque, a coat of paint that matches your home's exterior, or a small garden around the base of the post.
Step 9: Regular Maintenance
To keep your mailbox looking great and functioning well, perform regular maintenance. Check for any signs of wear and tear, such as rust or rot, and address these issues promptly. Ensure the mailbox remains securely attached to the post and that the post itself remains stable and straight.
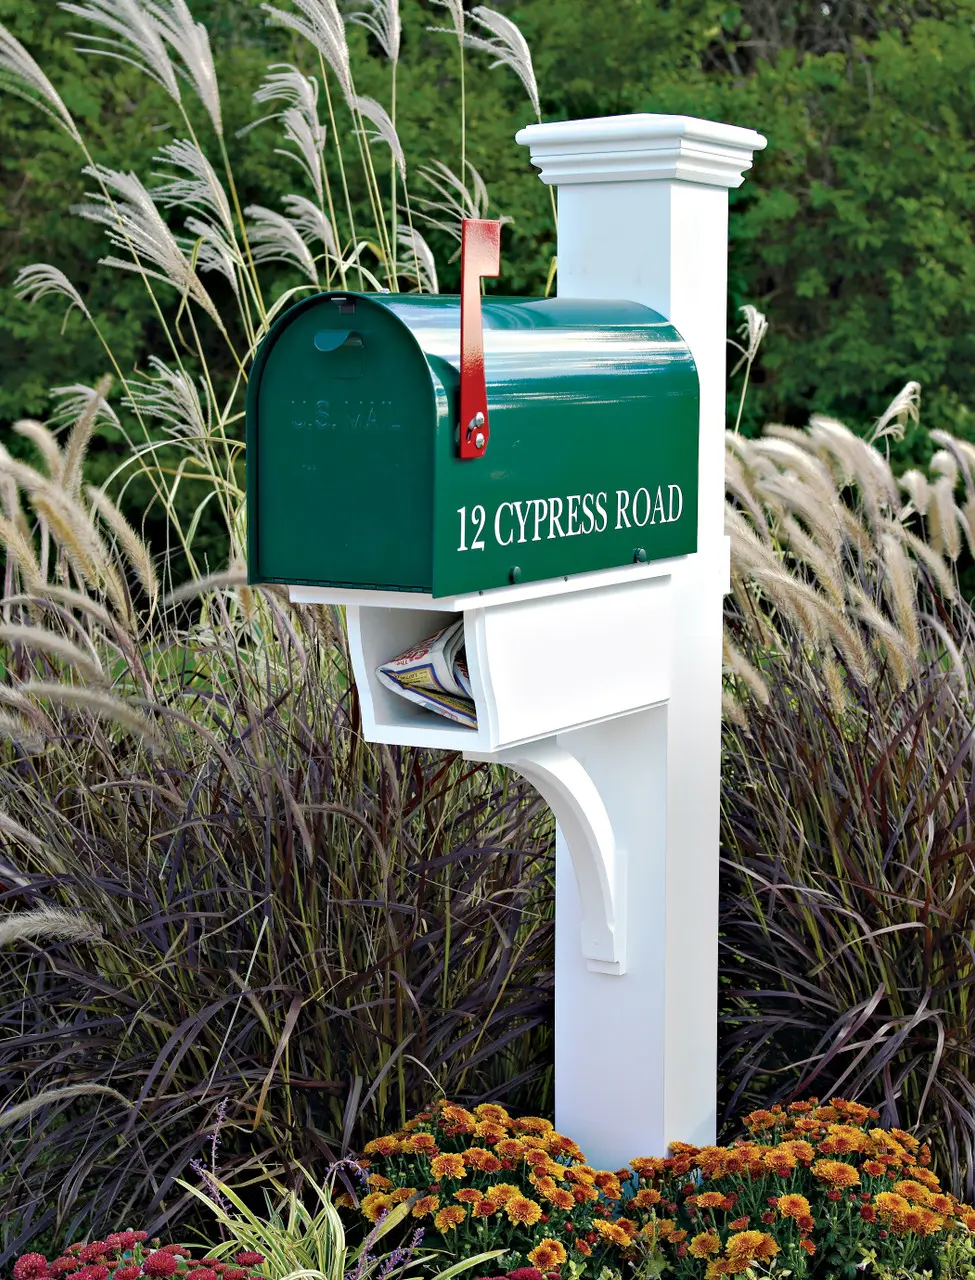
Find the Best Mailbox for Your Home with Us at Walpole Outdoors
Choosing the right mailbox is as important as the installation process. Walpole Outdoors has been a leading provider of high-quality custom designs for outdoor spaces for over ninety years.
We offer a variety of high-quality, stylish mailboxes and mail posts that can complement any home exterior. Our elegant line of mailboxes and mail posts is designed to be durable, weather-resistant, and easy to install, making them an excellent choice for homeowners looking to enhance their curb appeal.
Whether you prefer a multi-box post or a single post, we provide customizable options, allowing you to choose from different finishes, materials, and styles to match your home's aesthetic perfectly. Investing in a mailbox from Walpole Outdoors ensures that your new installation not only serves its functional purpose but also adds a touch of elegance to your property.
Installing a mailbox post is a manageable DIY project that brings both practical and aesthetic benefits to your home. By following these steps and choosing a high-quality mailbox post from Walpole Outdoors, you'll achieve a beautiful, functional addition to your front yard that will serve you for years to come. If you’d like help with installation or choosing the right mailbox and mail post to complete your outdoor aesthetic, contact our design team for a complimentary design consultation today!