Displaying a flag at your home is a timeless tradition that adds charm, character, and a sense of pride to your property. Whether you want to mount a flag on your wall or install a ground-mounted pole for a striking centerpiece, the right flagpole can elevate your home’s curb appeal.
In this guide, we’ll walk you through choosing the right flagpole package for your property and then detail the steps for installing both wall-mounted and ground-mounted flagpoles, ensuring your flag is displayed beautifully and securely.
Essential Tools and Materials for Installation
Before you begin, gather these tools and materials to make installation seamless:
Drill with appropriate drill bits
Measuring tape
Level
Screwdriver or wrench (depending on the hardware)
Concrete mix (for ground-mounted installations)
Shovel or post hole digger (for digging the flagpole base)
Safety equipment, including gloves and goggles
Walpole Outdoors simplifies the process with its comprehensive flagpole packages, which include mounting hardware and accessories for both wall-mounted and ground-mounted options.
Wall-Mounted Flagpole Installation
Installing a flagpole is more than a practical project—it’s an opportunity to express your values and add a distinctive touch to your property. Whether you’re flying the American flag, a seasonal banner, or a custom design, Walpole Outdoors’ expertly crafted flagpoles ensure your display is as beautiful as it is enduring.
A wall-mounted flagpole is perfect for those who want to display a flag elegantly without taking up yard space. Walpole Outdoors’ Wall Mount Flagpole Package is an excellent choice, combining style and durability. This package includes a 6-foot two-section white aluminum pole, a 3' x 5' nylon flag with embroidered stars and stitched stripes, and all necessary mounting hardware.
Here is a streamlined guide to installing a wall-mounted flagpole:
Choose the Location: Select a spot on your wall that is high enough to allow the flag to wave freely without obstruction. Ensure the surface is sturdy and accessible.
Mark the Bracket Holes: Use the flagpole bracket as a template to mark the drill holes. Double-check that the bracket is level.
Drill the Holes: Using a drill bit appropriate for your wall material (brick, wood, or siding), carefully drill holes at the marked spots.
Attach the Bracket: Secure the bracket to the wall using the included screws or bolts, tightening them until the bracket is firmly in place.
Assemble the Pole and Flag: Insert the two sections of the aluminum pole together, attach the flag, and place the pole into the mounted bracket.
Your flag is ready to fly, adding a polished and patriotic touch to your home’s exterior!
Ground-Mounted Flagpole Installation
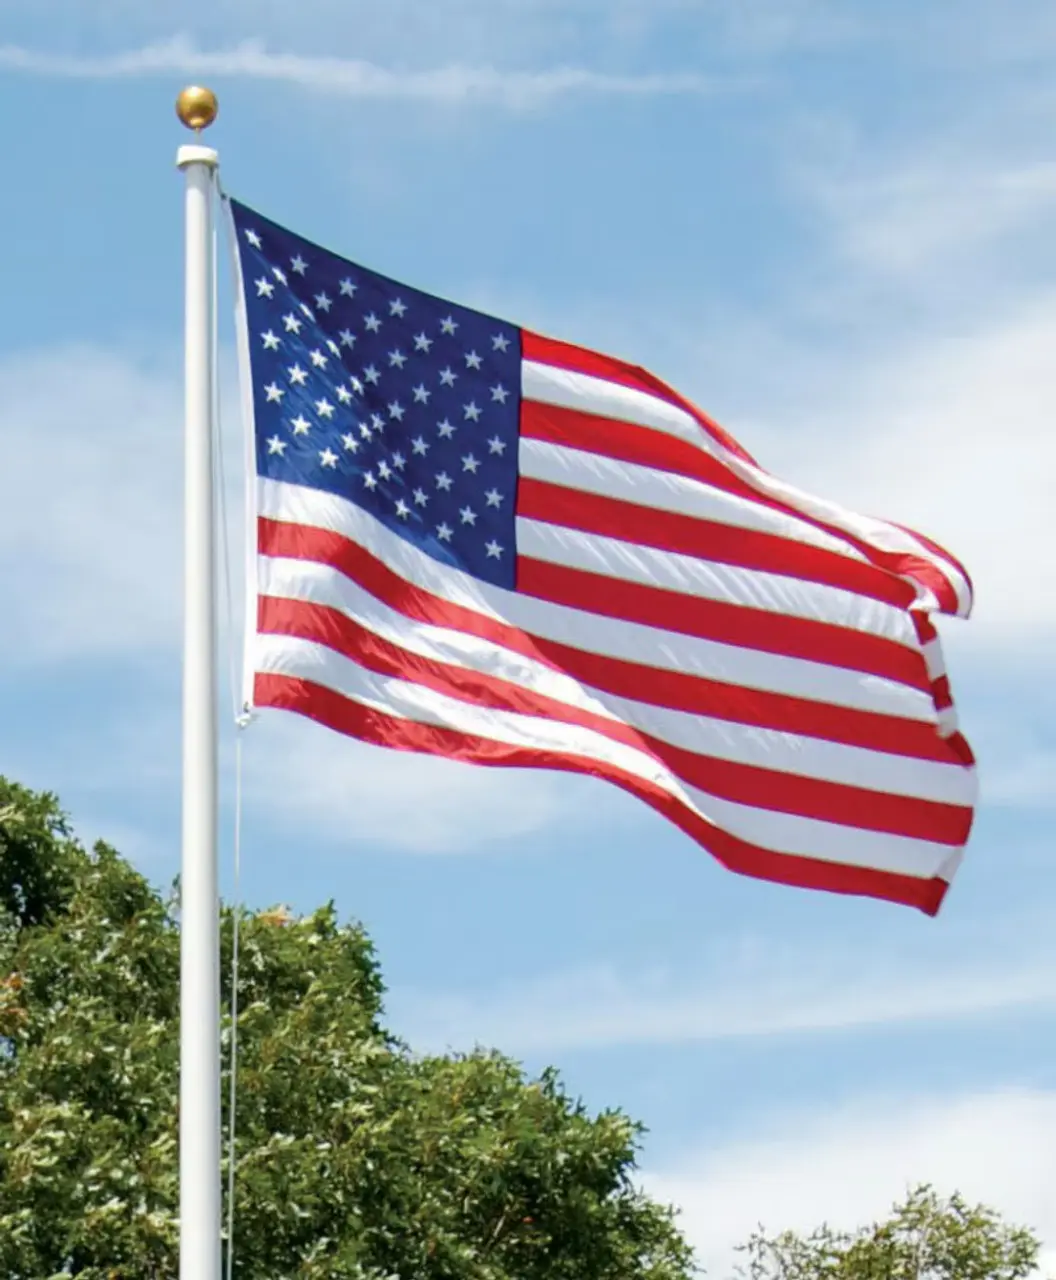
A ground-mounted flagpole makes a bold statement, ideal for spacious yards or prominent driveways. Walpole Outdoors offers a premium Fiberglass Flagpole in both 20-foot and 25-foot sizes. Its lightweight yet durable design features a hard, glossy polyester surface that resists scratches and soiling, making it suitable for residential or commercial use. Each pole is complete with a gold aluminum ball, pulley assembly, external polyester halyard, cleat, snap hooks, and a fiberglass ground sleeve. This package does not include a flag, but you can purchase a Standard American Flag separately and choose from 5 different available sizes.
Here’s how to install a ground-mounted flagpole:
Prepare the Site: Choose a location with enough clearance for the flag to fly freely. Use a shovel or post-hole digger to create a hole approximately 2 feet deep and three times the diameter of the ground sleeve.
Position the Ground Sleeve: Place the fiberglass ground sleeve into the hole, ensuring it is perfectly vertical. Use a level to check alignment.
Pour the Concrete: Mix the concrete and pour it around the ground sleeve, leaving the interior clear. Allow the concrete to cure for 24-48 hours.
Assemble the Flagpole: Attach the pulley assembly, halyard, cleat, and snap hooks to the fiberglass pole according to the included instructions.
Insert the Flagpole: Once the concrete has set, insert the flagpole into the sleeve. Secure it firmly, then attach your flag to the halyard and raise it to its full height.
With its glossy finish and durable design, the Walpole Outdoors Fiberglass Flagpole is built to withstand the elements while making a striking impression.
Discover Walpole Outdoors’ Flagpole Offerings!
Installing a flagpole is more than a practical project; it’s an opportunity to express your values and add a distinctive touch to your property. Whether you’re flying the American flag, a seasonal banner, or your own custom design, Walpole Outdoors’ expertly crafted flagpoles ensure your standard will be flying for years to come.
With Walpole Outdoors, showcasing your patriotism and elevating your home’s curb appeal has never been easier. Explore our entire flag collection today, and let Walpole Outdoors help you make a lasting impression with a flagpole that stands the test of time!